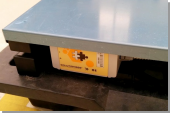
Battery Replacement HM-20
Where to find them:HM-20 batteries are no longer obtainable via the Solutionbee store, however, they can be purchased online via Amazon, etc. Please search for "Tadiran TL-5930/f" for replacement batteries. Make sure to select "/f" batteries as only that version includes the cable and connector that is attached to the battery and which is needed to attach to the HM-20.
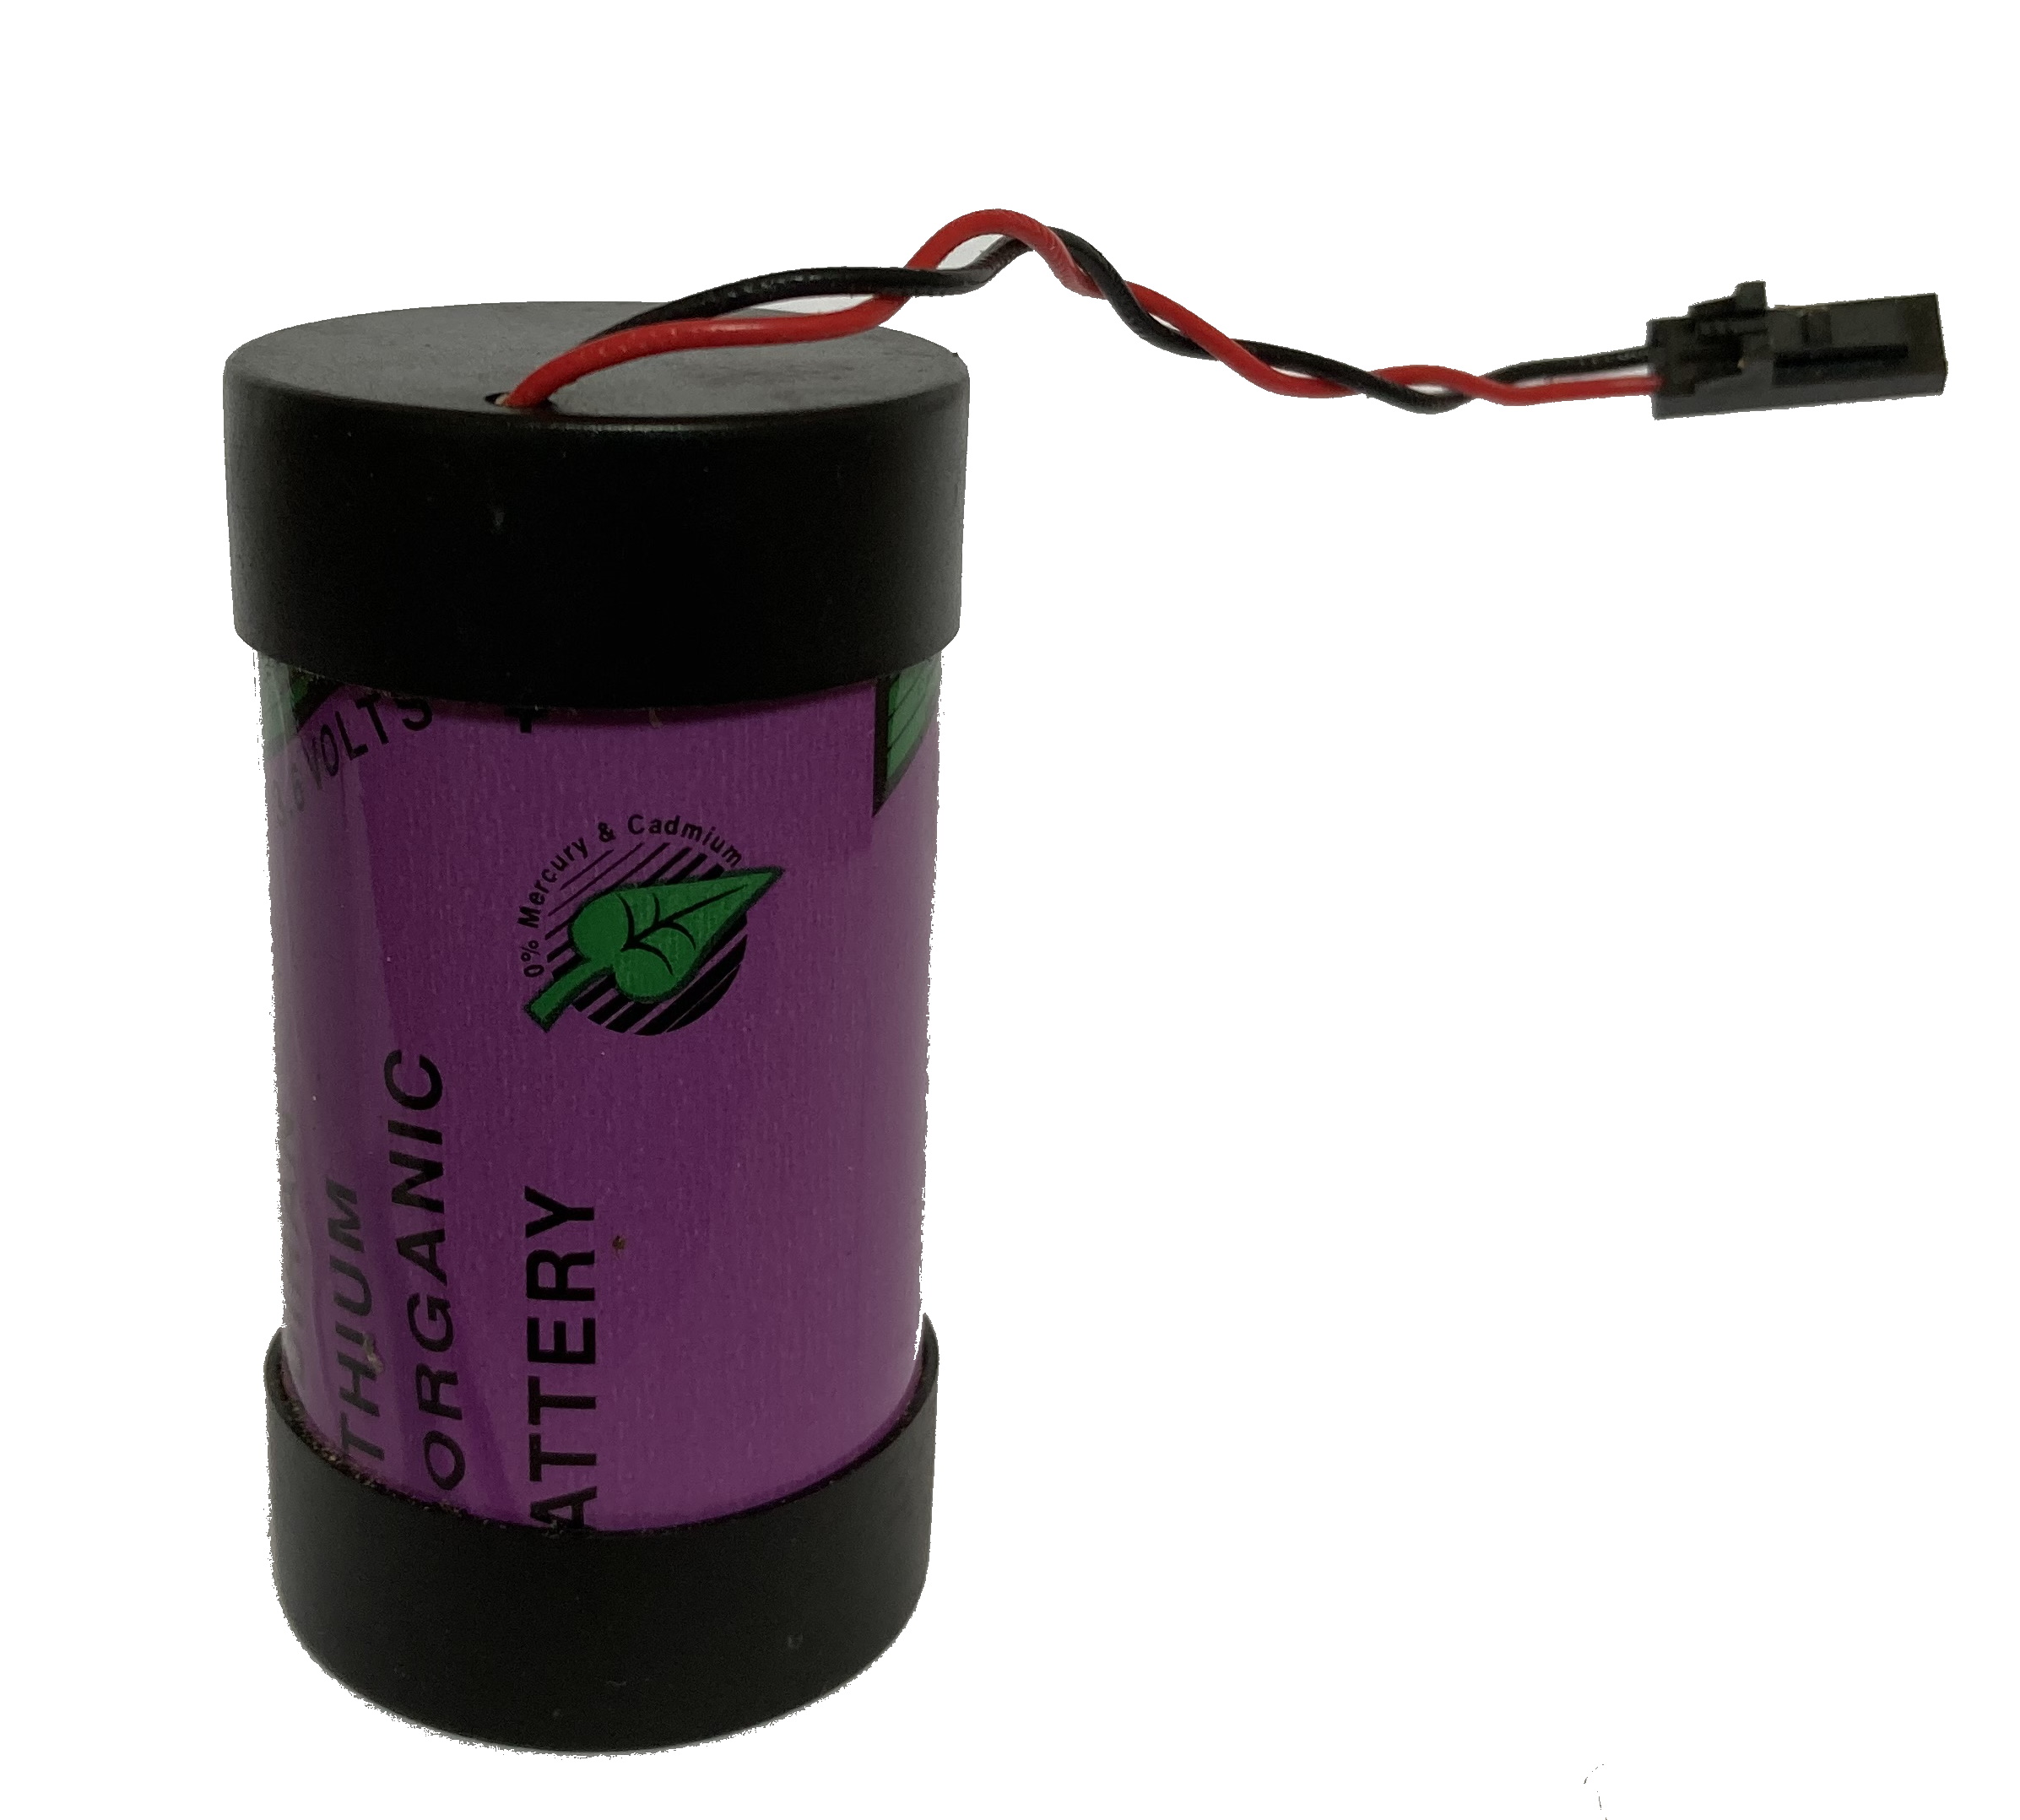
How to install them: Please follow the step by step instructions described below to insert batteries in or remove batteries from your HM-20 Smart Hive Monitor device.
- Prepare the Smart Hive Monitor for battery removal/insertion.
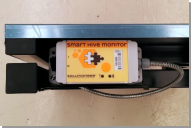
- Remove the top stainless steel plate of the hive monitor. Identify the two screws (and washers and nuts) that attach the electronic module to the frame bracket.
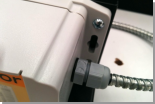
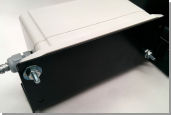
- Remove the two bracket screws. The electronic module will now be free from the scale frame. Identify the four screws that hold the module together.
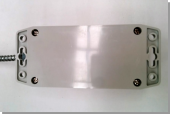
- Remove the four module screws. Carefully open the module.
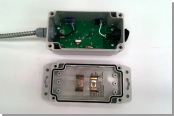
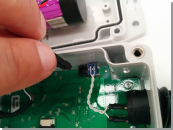
- If you are replacing a battery, there will already be a battery in the module. In this case, the battery is connected to the printed circuit board with a lock connector. Pinch/press the connector to pull the male connector loose from the female connector on the printed circuit board. This operation may take some wiggling of the connector to remove it.
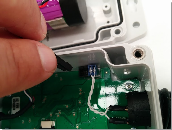
- If you are simply inserting a battery, there won't be a battery in the module.
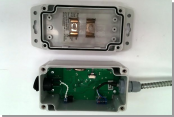
- Place a battery between the two clips on the bottom portion. Make sure that the leads exiting the battery are in the 12 o'clock position.
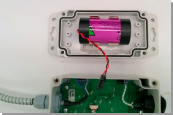
- Insert the battery lead male connector into to mating female connector on the printed circuit board.
- Review your work. The assembly should look like in the following picture:
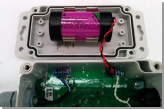
- Close the module by lifting and then turning the printed circuit board portion of the module on top of the battery portion of the module. This will avoid the insulation O-ring from falling out of its groove.
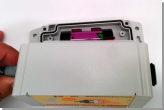
- Reinsert the four electronic module screws.
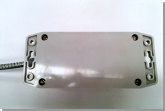
- Reattach the electronic module to the scale frame bracket.
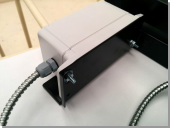
- Reattach the top cover. You are done. Turn the power switch to the on – “I” position. Try to communicate with the module with a smartphone as per the Installation Guide.